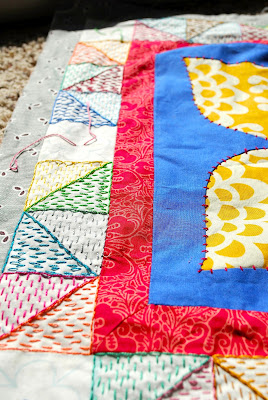
I looove my Anna Maria Horner Good Folks fabric, particularly the green one with the diamonds (Buttoned Up in Sea). I knew I needed to make something out of it so I could see it every day, but I didn't know what. I was taking pictures of my Modern Medallion when the idea struck me to cover my camera strap! After some trial and error, here is how I did it.
Besides your fabric of choice, you will need a ruler, rotary cutter, some pins, and a sewing machine.
First, I measured the strap I wanted to cover. Mine was an even 19 inches long and 1.5 inches wide. Allowing myself some wiggle room and room to fold the ends under, I cut my piece of fabric 20 inches long by 4 inches wide. I added a 1/2 inch to each end of the length of the fabric so I could fold the ends for a clean look. For the width, I doubled my measurement (1.5x2) plus added 1/2 inch to either side for folding again (3+0.5+0.5) leaving me with 4 inches.
Next, I folded the short ends of the fabric over 1/2 inch since I cut my piece 1 inch longer than need be. Before you sew anything, you want to measure your folded piece to make sure it is the length of your strap. If it is too long, just fold a little more under with your iron.
I sewed these folds down using a wide zig zag stitch in a dark blue thread that just blended right in. The seam was 1/4 inch of the end of the fabric as with most piecing. Once both sides are sewn, measure again to make sure your length of fabric is the same as the length of your camera strap.
Next, fold the long sides over 1/4 inch with your iron. This will leave your fabric piece wider than your strap, but that will be accounted for when you attach the fabric to the strap. Again, it is better to have too much fabric here than too little.
Once more, I sewed the folds down with the same zig zag stitch 1/4 inch off the edge of the fabric. My piece of fabric with all the ends folded and sewn over measured 19 inches by 3.5 inches. This gave me the exact length I needed to cover the strap as well as some extra fabric to overlap when folding the fabric around the width of the strap.
To attach the fabric to the strap, I first changed the needle in my sewing machine to one that is a little heavier weight. At first, I wasn't sure if my machine could handle the leather on the Nikon strap, but the needle slid through it like butter. I was impressed. I pinned the first side of my fabric down the middle of the inside of the strap (the part that would touch your neck), taking care not to catch any fabric on the underside of the strap
I then did the same zig zag stitch down the center of the strap to tack the fabric on.
After that, I wrapped the remaining fabric snug around the strap and pinned in it place.
Mine crossed right in the center, so I was able to sew down the center line again to tack the final piece in place.
This time, you do sew through all of the layers of fabric, so you want your bobbin thread to either be an accent color or an invisible color since it will be on the outside.
Then you are done! This is what each side of my strap looked like in the end. I used blue on the inside and a suuuper light grey on the outside.
The only challenge left was how to take a picture of the finished product when the finished product was part of the picture taking device.
Hope you enjoy! It is super easy and quick and adds the perfect amount of personality to an otherwise boring camera!


