Showing posts with label Scraps. Show all posts

Monday, February 4, 2013

Rainbow Scraps

Curves class with Rachel of Stitched in Color started and passed me right by. This weekend though, I got to start on some projects. The first was a set of improv curve notecards. These were so relaxing! Creativitiy was flowing uninhibited and here is my interpretation. I love them. Like L.O.V.E. them.


Needless to say, these will not be my last improv scrap curves, or my last rainbows. With all this creativity flowing, its time to put some of these ideas on paper!

Sunday, January 20, 2013

#scrappytripalong Almost there

Quilt top pieced and quilt basted, I am in the home stretch on this one. When my shift ended on Wednesday, I took a little break on this quilt to finally start on my Weekender bag. Let me tell you, this bag is not for the meek. It has been incredibly time consuming, but I am almost done and ready to show off! It is rather hard, and thus I'm feeling pretty accomplished. Haha. But back to the quilt at hand.


I have to go back to Columbia today for my final shift on this project and wanted to get the Scrappy Trip Along quilt basted so that I could quilt it while in my hotel room. Basting usually goes pretty smoothly for me, but this one started out as a nightmare. The garage is full of sawdust from the chicken coop that my dad is building, and it was too windy to try to do it on the driveway. The only place left, was inside.

This is not the best idea due to the spray radius of the glue, but it was the only option. For whatever reason, no matter what my Mom and I did, we could not get the backing to lay on the batting smoothly without wrinkles. I can normally get it to lay pretty flat and even and then smooth any remaining wrinkles with my hands, but not this time. Right before I went into full meltdown mode, we called in Dad.

Naturally, Dad knew just what to do. He essentially just wallpapered the whole thing down. I know all of this is just like duh, but I normally can smooth the wrinkles out with my hands after laying down each layer. This however, gave such perfect results (I mean PERFECT, check out that backing) that I recommend it to all home quilt basters.


Here's what we did. The batting was taped to the floor to apply the backing and quilt top to the batting. It makes for easier smoothing when you have the fabric side up rather than batting side up. I like to bast half of the quilt at a time (shown below) so that you have less sticky area to control at once. So, spray basting onto batting. 


The next part is easier if you have three participants. I couldn't get any great pictures while we were mid process since I was one of the three people involved, but hopefully you get the idea. Next week I will be basting the Good Folks quilt and I will see if I can rope someone in to photograph. 

While one person smoothes, have two others hold each corner of the quilt and keep it hovered over the sticky batting. While you are smoothing from the middle towards the end of the quilt, have them slowly lay it down ahead of you. This allows controlled application of the quilt back or top to the batting that is firmly secured, and it allows any wrinkles that may appear to be smoothed out before the entire area of the quilt is set. 


End result, absolutely no wrinkles. Not even the 'i can live with those' wrinkles. I'm sure many people are like yea, obviously, BUT this opened a whole new world to me for perfectly basted quilts. Ill put up an in depth picture tutorial when we baste the Good Folks quilt!


Monday, January 14, 2013

#scrappytripalong Almost pieced!

I finally finished piecing all 30 of my blocks for the #scrappytripalong quilt. I got a little distracted between being in the middle of another 10 day shift and having my boyfriend here to visit for a few days. It was nice to come home (to my hotel room?...thats not home) and unwind with him around.

Since I have so much floor space and the carpet in my room is so lovely (scary?) I decided to play with a couple different layouts. There is the basic traditional,


the zig zag,


and the offset diamond.


After much deliberation and TONS of feedback from my wonderful instagram friends, I ended up deciding on going the traditional route. It is just so pretty. I do, however, plan to do another one in boy colors and use the zig zag pattern.


With that decision made, I rearranged the blocks to try to get the best distribution of lights and darks. Decent right? Ok, now to piece the top. This is the first quilt that I think I might actually start and finish in the same month. Holy moly! #finishit2013

Tuesday, January 1, 2013

#scrappytripalong Progress

This impromptu quilt along has taken over! I am so off schedule and totally loving it. I chopped up some gorgeous stash scraps


and have been churning out blocks. 12 done and 24 to go. If you haven't started, you should totally make one! It is addictive!


The tutorial is located here on Quiltville! Go go go! Join in on the fun! And follow along on instagram, citystitches or #scrappytripalong. 

Also, if you are interested in handstitching or curves, hop on over to Stitched in Color and sign up for one of Rachel's classes! I have already taken handstitched and signed up for this round of curves! They are very fun, full of learning, and totally worth it!

Saturday, December 29, 2012

#scrappytripalong......and a present

First, the present. I have known my boyfriend since we were in preschool together. We have been in and out of each others lives for around 22 years. You would expect after that amount of time that someone would and/or could know you well. I think he does. Well on Christmas, I found out how wrong I was. He doesn't just know me well, he can possibly (I haven't disproved it yet) read my mind. I was gifted this.


Now, not many 25 year old girls would let out a high pitched squeal when unwrapping a Rowenta box, but I did. And on that same note, not many 24 year old boys would ever expect or think to gift said girl an iron. :heart flutter:

I never in my wildest dreams thought that an iron could be meaningful, but this one was. Because it came from a boy that spent days and days researching irons to find the perfect gift to make his bizarre girlfriend the happiest sewist on Christmas morning.


This Rowenta is legit too. If anyone needs an iron, buy it. The precision tip is no joke. Ironing seams open is as smooth as butter. And it has 300 little steam dispersion holes. This iron really knows whats up.

More about the iron later. #scrappytripalong. If you have instagram, check out this hash tag. Over the last few days, an impromptu quilt along has sprung up via instagram thanks to Megan from Lucy and Norman and is spreading like wildfire. It is incredibly addictive. The blocks are GREAT stash busters.


Here is the tute from Quiltville. Verrrrrry easy to follow and the fastest patchwork piecing I have ever done. Brenda from Pink Castle Fabrics jumped in right after Megan and has also created a flickr group for everyone to share in their Scrappy Trip Along fun. You can also check out the progress of me (citystitches) and others on instagram! Search my user name, the hash tag mentioned above, or just click the instagram button on my social networking tool bar above. There are so many wonderful other people participating over instagram and flickr, I can't possibly name them all here! Come join the fun!!

Sunday, March 25, 2012

Japanese x and + tutorial

One more week until the official kick off of the Retro Flowers Quilt Along! I hope you all will join us!! Now is the time to pick out you beautiful fabrics, get your supplies ready, and join the fun in the flickr group. For all of the information on schedule, prizes, and more, go here! Until then...

I have been hunting around the internet for a good tutorial on the Japanese x and + block finishing at 12.5 inches. Much to my dismay, I could not find one. I decided to backwards engineer it and I thought I would share what I came up with!

Here is my final block, finishing at 13 x 13 (12.5 x 12.5 once it is sewn to its neighbor blocks)


My pictures came out like I was using a fish eye lens...weird. Anyway, this is the first cut I have made into my Good Folks and man was it nerve wracking. 

So after some careful math, I figured out that you need:

(8) 3 inch squares for the triangle pieces (blue in my block)
(4) 3 inch squares for the ends of the plus (yellow in my block)
(2) 3 inch squares for the plus (red diamonds)
(1) 8 x 3 inch rectangle for the plus (red diamonds)
(4) 5.5 inch squares for the x pieces (I chose 4 different prints to make it scrappy)


I started by piecing the x part of the block. Each 5.5 inch square will get (2) 3 inch squares sewn into opposite corners like this. I sewed a vertical seam from the top corner of each blue square to the bottom of each. 


Next, iron the squares back onto themselves (wrong sides together) and cut away the excess fabric like so


Next, I sewed together the pieces of the plus part of the block using a 1/4 inch seam. I ironed my seams open mainly because I prefer the look. You can press them to the side as well.


After that, I sewed 2 of my 5.5 inch squares to each of the shorter plus pieces. This is where you have to get careful about placement. You want to make sure the 'points' of your x pieces are pointing towards your main plus color. In mine, I made sure my x pieces were pointing to the red diamonds, as opposed to the yellow. 


Finally, I sewed each of those pieces to the final portion of the + part of the block. 


I really like the scrappy look of it! It was a super easy block with some very fast piecing. I have seen people use color and fabric in numerous ways for this block, but I find the scrappy ones to be the most interesting and striking. 

Tuesday, March 6, 2012

My Scrap Attack Quilt

Before anyone gets any ideas, I did not complete this in the midst of my packing. Haha. I finished it this past winter (Jan 2012), and thought it would be a great addition to the Scrap Attack that Rachel is hosting on her blog.


The quilt is from the book Material Obsession. It was one of the first quilting books I ever bought, and this pattern just totally struck me.


The blank squares below (oh and by below, I mean above.....it was held upside down) the flowers (or stars) are supposed to get appliqued leaves and embroidered stems after it is quilted, but I like them blank. I don't know why. So I think I will leave them that way :)


I do love it though and can't wait to have it finished so I can snuggle under it!

Tuesday, February 28, 2012

Single Girl

First, I want to acknowledge just how amazingly amazing this online quilting community is. I have met some of the nicest, most generous people from all across the world. People I have never met before have reached out to see if I needed help or advice with my move. One sweet, wonderful girl in one of my bees named Heather is sending me a piece of a Good Folks print that I am missing that she happened to have. For real!?!?!? I almost fainted. Being part of this community has really restored my faith in the goodness of people and has made the world feel so small. I LOVE it, and I love all of the people who contribute to it.

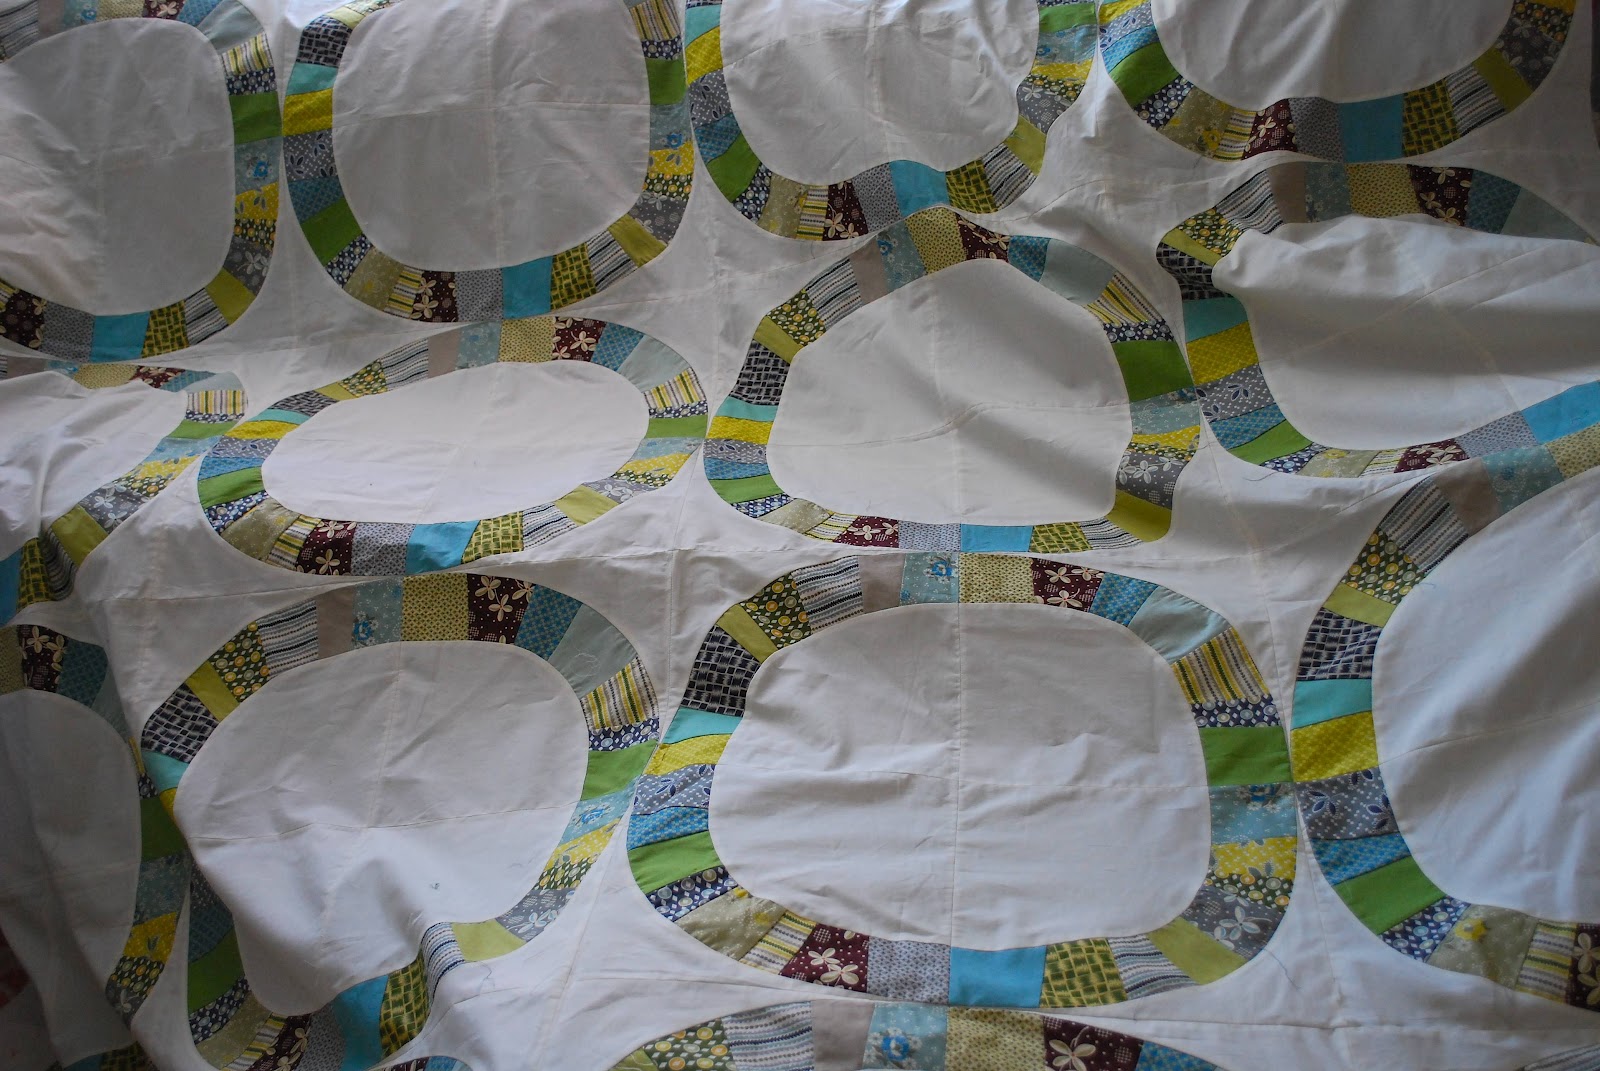
Back to sewing. I pulled my single girl out of the closet today. It was such a challenge to piece, when I was finally done, I was totally over it. When I pulled it out today, I was surprised to see that is so much prettier than I remember!


I now appreciate the work that I put into it. I would have taken it outside for some gorgeous pictures on this sunny day, but there is so much white in it that I was totally afraid it would get dirty.

So what to do with this thing? It is huge. I mean HUGE. Like 85 x 85 huge. I am completely intimidated at the thought of quilting it on my little Pfaff. I don't think even half of it would fit through the machine all rolled up sandwich like. I am soooo tempted to send it to my mom (who is a long arm quilter) and let her do the deed. Ugh decisions.

On another note, anyone who lives in or around the Raleigh area, where are the best quilt shops? I have no idea. I need a good modern one, and I don't know if there is one in the area. Also, now that I have a disgusting amount of free time, I have decided to see how many calories I can ingest. I actually have time to cook! Anyone have any fabulous recipes?

In my last post I mentioned that there was something fun in the works. Well, we got the green light to go ahead!! I am not going to say what it is yet, but we are ironing out the details as I type. Look out for the announcement in the near future! I am soo excited!!!

Sunday, February 19, 2012

Snow Day!

Well really more like flurry day, but it is the first snow-like weather that Richmond has seen all year! Fortunately for me, I did all of my errands yesterday so I can spend the day inside sewing. I decided nothing would be more perfect for a day like this than some hexies! I have had a pile waiting for me to begin piecing for some time. 


I decided to go with 5 inch hexies because frankly I don't have the patience to make an entire quilt out of itty bitty hexagons. Haha. I printed them from an online hexagon generator (hexies!) onto card stock so they would be pretty substantial while I was attempting my hand sewing.  


My method is rather improvisational because I sort of learned as I went rather than follow a pattern or tutorial. The steps are pretty much the same as any other method though. I just cut out my paper hexagon, lay it on my fabric, and use it as a template while I cut around it with my rotary cutter. I don't use any particular seam allowance or anything, I just sort of eyeball it.


Then, I just sort of tack the fabric to the paper hexagon with a needle and thread, folding one corner over at a time, and moving around the hexagon. I usually tack each corner on the first pass and then the middle of each flat side on the second pass. It gives me the confidence that I need that the fabric is tight around the paper.


Then it is on to hand stitching. I am choosing to do these by hand as a challenge to myself because I rarely take on a hand sewn project. I think, however, I have figured out a pretty efficient way to do them by machine. If I master it, I will post a tutorial.


I don't have very many pieced so far, but I am not planning for this to be a fast project. I will make a couple new hexies now and then as I get new fabric, and one day (hopefully) it will be a showcase of the fabric that has passed through my sewing room. I like the idea of a big scrappy hexie quilt. Now I am going to go enjoy the fact that I am not outside and start learning to piece my hexagons!